Showing posts with label luthier. Show all posts

Sunday, 27 June 2021

Fender Lead I Pickup

 I’ve been repairing a few pickups recently and I thought I’d share this one with you. It’s a Fender Lead I Pickup that was sent to me by guitar repairer Jeff Baker from Oamaru.

The Fender Lead I was one of those obscure models that never really caught on and the pickup reflects that. It’s a little unusual and that’s what makes it interesting.

It even looks different with those square topped bobbins.
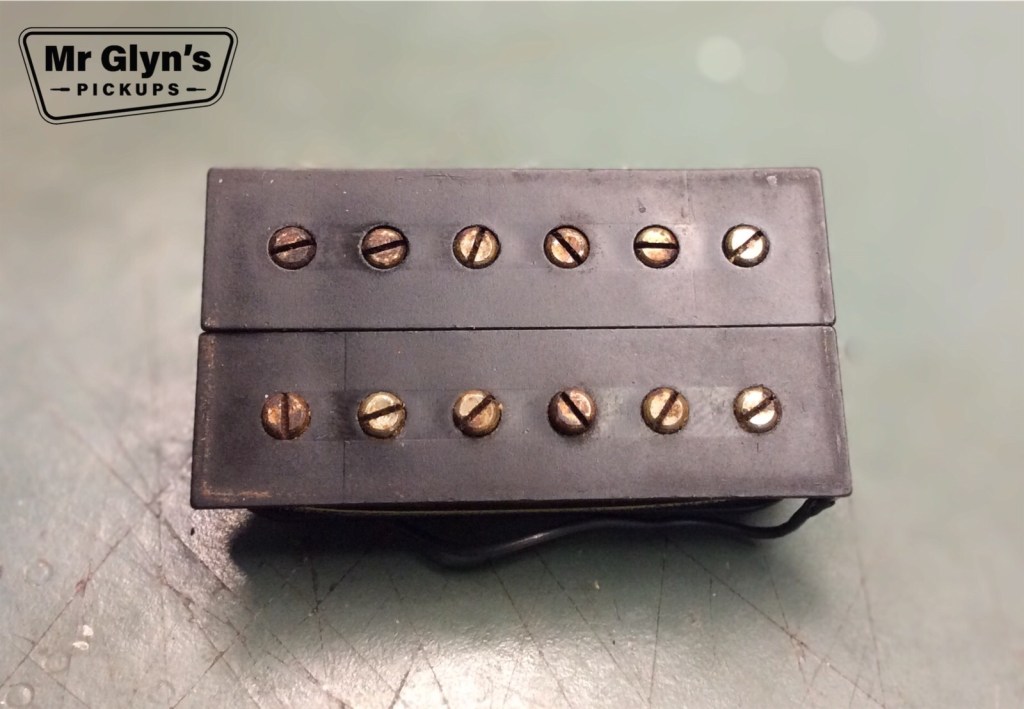
Fender Lead I Pickup Mr Glyns Pickups

Not only is it unusual looking from the top but turn it over and it shows what it’s really all about. Those are 12 big adjustable poles screwed into substantial steel blocks and coupled to a powerful ceramic magnet.

This is clearly not a typical Fender pickup, this was designed to ROCK.

Lead I Pickup underneath

It came to me because it wasn’t working and typically one coil was showing ‘open circuit’ on the test meter. In these cases I can use the good coil as a reference to what the faulty coil should be. It had a dc resistance of 7.61 KOhms. Wiki told me the final dc resistance of the whole pickup is approx. 13KOhms so that gave me a pretty good indication of how I should wind it. That’s a powerful set of coils to go with that magnet.

A bit of maths, plenty of experience and some intuition and I had a plan for winding it. Detailed information just isn’t available for this kind of job.

humbucker bobbin

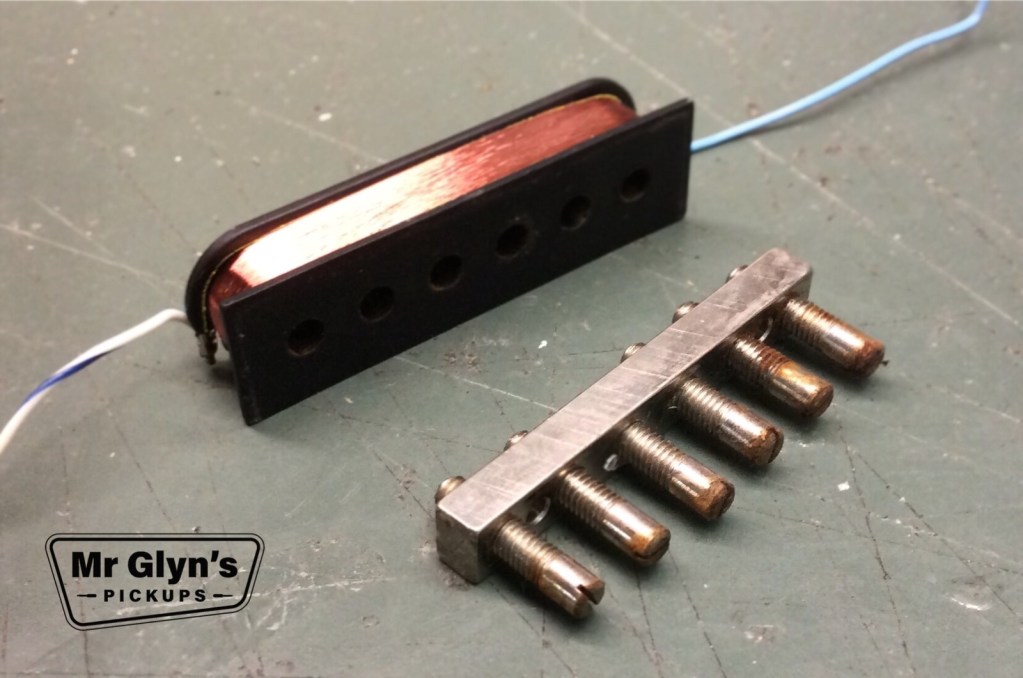
I stripped the bobbin and wound the coil.
pole pieces

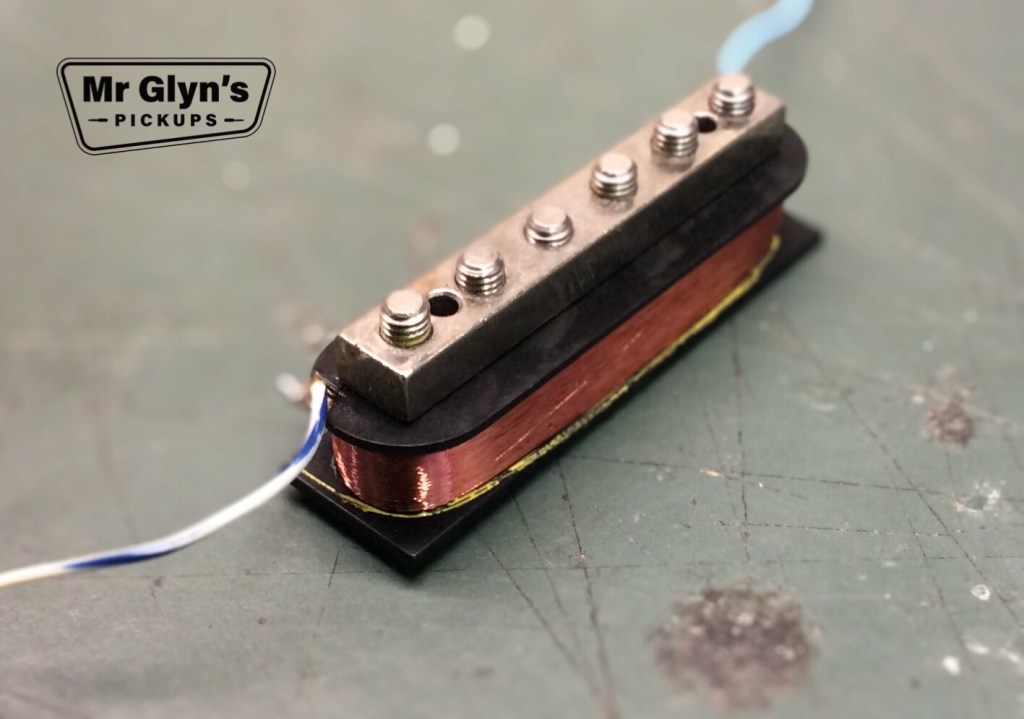
I potted it very lightly because these bobbins are made of butyrate that has a lower melting point than most modern ABS bobbins – I didn’t want it to deform with the heat, I wasn’t going to be able to get another bobbin.

Here you can see the chunky pole pieces, they’ll guide a fair bit of that ceramic magnet’s strength up to the strings.
Fender Lead I Pickup

If you have a faulty pickup or are interested in my range of handmade pickups have a look at the website

https://mrglynspickups.com/

https://www.youtube.com/c/MrGlynsPickups/videos

Mr Glyn's Pickups Roboguy

Tuesday, 16 November 2010

Hofner Pickup re-wind

I had a visit from Paul Crowther the other day (always a pleasure to see him). He's rather a legend for amongst other things his 'Hotcake' overdrive pedals and the 'Prunes and Custard' (my favorite for theremin).

http://en.wikipedia.org/wiki/Emlyn_Crowther

 He wanted to know if my coil winding machine was up and running -  he had an interesting pickup for me to wind.


 Its an old Hofner pickup which I guess is from the 50's. The guitar has 3 of them and this one has a break in the windings so needs to be re-wound.
This would normally be a straight forward job except for the design of this pickup.


 This is the inside of it. The windings (around the outside) are not wrapped around a bobbin. They are just sitting in the pickup and have been wrapped in tape to protect them. In the middle you can see the magnets sitting in a hard putty. There are incidentally only 5 magnets.
 So the problem Paul left me with was how to wrap about 5000 turns of extremely thin wire into a coil and therefore make a pickup.
 After a long brainstorming session with Sheena we came up with a plan.

 We figured that the wire had to be wound around a bobbin and then somehow the bobbin removed.


 So I made this bobbin. The sides are plastic from a Strat pickguard (white) and the centre has been carved from candle wax.


The bobbin bolts together and is attached to another plastic plate which in turn fits to the winding machine.
 The idea is to wind the pickup on this and then warm the completed coil up and melt the wax. The wax should seep into the coil thus potting it as well. Then the sides can be unbolted and voila a copy of the original coil.


 Winding the coil wasn't any different from any other pickup - so now for the tricky bit.


 I warm the coil ever so gently with a heat gun. I put my free hand next to the work to judge the temperature - if it gets too hot the plastic will melt and I'll be starting again.


 When I see some wax oozing out I ever so gently remove the top plate.


 With the wax exposed I can apply more heat and watch it flow into the coil and as it cools becomes solid.


Then I wrap tape around it to hold everything in place. I cannot emphasize enough how fiddly this is. There are a few stray wires and if any of them break I'm starting again.


It may not be much to look at but its taken hours. The slight curve is to match the shape of the pickup casing. I've tested it and I'm pleased with it at 5.5Kohms.
 In the background you can see the magnetic lugs - I had to dig them out of the putty.


 I put the whole thing back together using 'friendly plastic' instead of putty then fill the casing with wax, solder the back on and its finished.

 Its been quite a task but I'm happy with the result.

   Glyn


………………………………………………………………………………………….